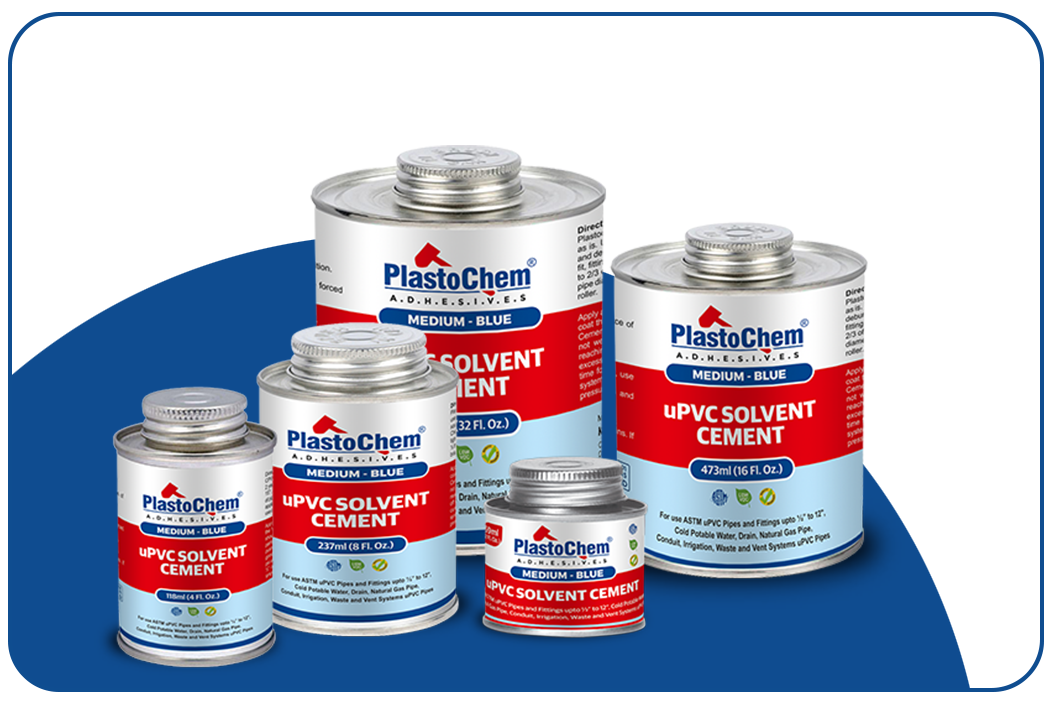
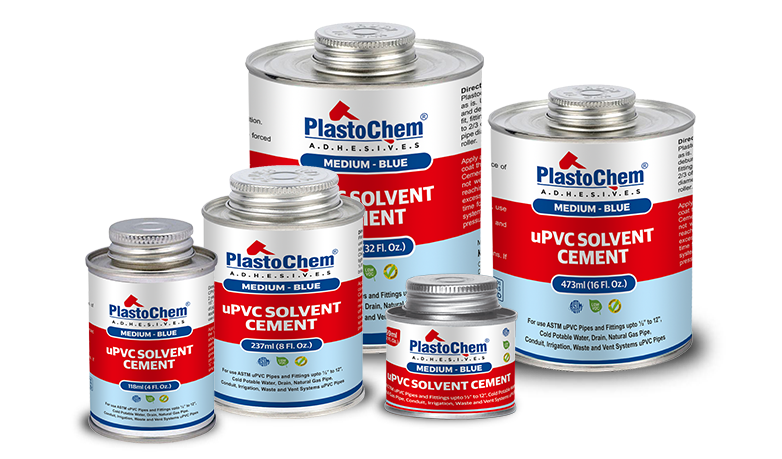
For uPVC piping project always advice to use uPVC solvent cement for better and long leakage proof joint. Here we are going to guid, how to work with uPVC Solvent Cement on uPVC pipe and fitting to ensure a successful application, along with essential tips and safety precautions.
First to know why we should use uPVC Solvent Cement? Because its…
- Durability: Provides a long-lasting bond resistant to water and chemicals.
- Versatility: Suitable for a wide range of plumbing and construction applications.
- Ease of Use: Designed for quick application and curing, making it user-friendly.
Step-by-Step Guide to Using uPVC Solvent Cement
1. Before starting, make sure you have all necessary materials for work with Plastochem uPVC Solvent Cement
- uPVC pipes and fittings
- uPVC solvent cement
- Cleaner or primer (optional)
- Applicator brush
- Cloth or rag
- Safety goggles and gloves
2. Clean the Surfaces
Using a cleaner or primer (if required), wipe the ends of the uPVC pipes and the interior of the fittings to remove dirt, grease, and moisture. This step is necessary for ensuring a strong and durable bond.
3. Cut and Smooth the Pipes
Cut the uPVC pipes to your desired lengths using a pipe cutter or saw. Make sure to smooth out any rough edges to facilitate a proper fit.
4. Apply the Solvent Cement
- Use an applicator brush to apply a coat of uPVC solvent cement to both the pipe end and the fitting. Make sure to cover all contact areas thoroughly. Wipe off the excess solvent cement.
5. Join the Pieces
- Insert the pipe into the fitting while twisting slightly to spread the cement evenly.
- Hold the joint together for about 30 seconds to allow the bond to start forming. Proper alignment is key, so take your time.
6. Clean Up Excess Cement
Wipe away any excess solvent cement with a cloth before it cures. This helps prevent unsightly residue and ensures a clean finish.
7. Allow for Curing
- Let the joint cure for at least 15-30 minutes before handling it. Refer to the manufacturer’s instructions for specific curing times, as some products may require longer for full strength.
8. Test the Joint
After the curing time, conduct a pressure test to check for leaks. This step is crucial to ensure the integrity of your plumbing system.


