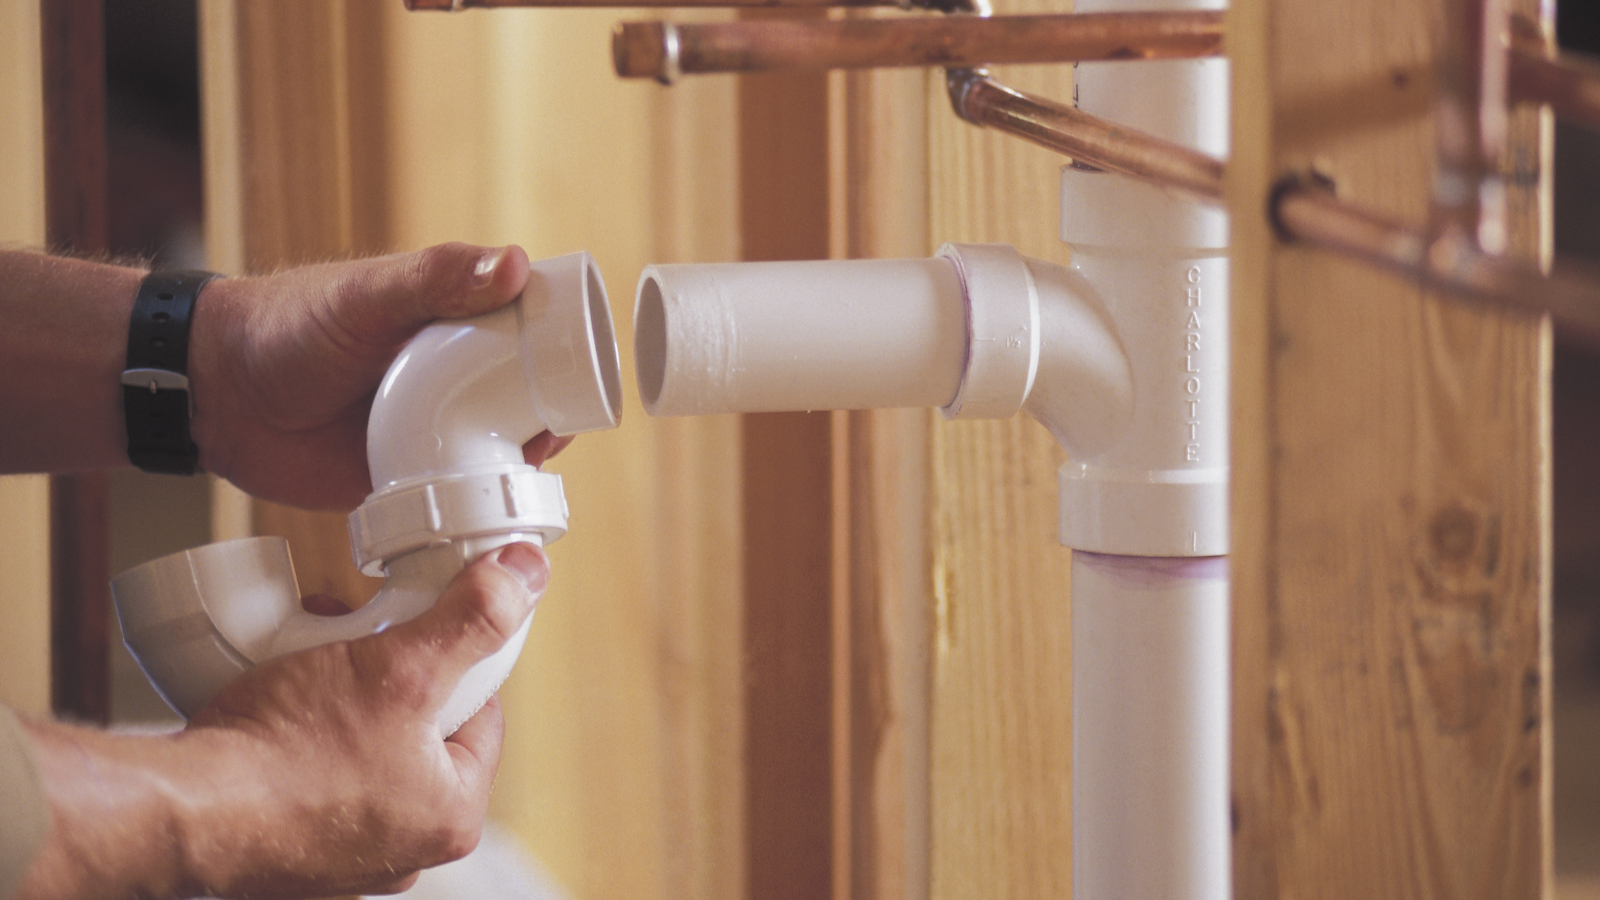
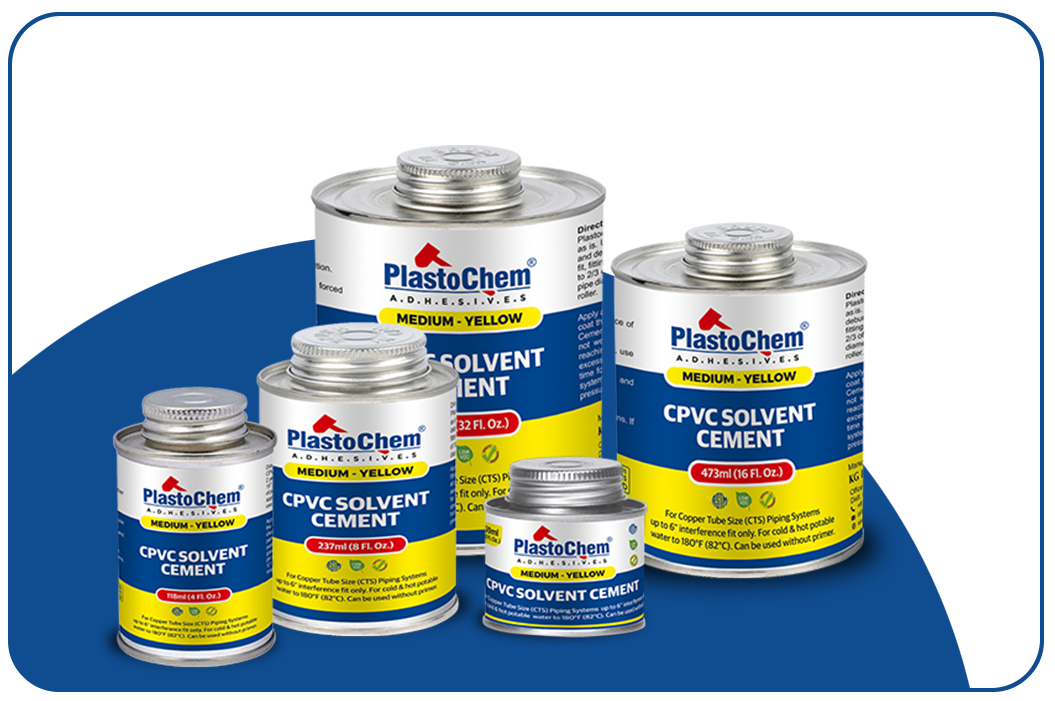
Plastochem CPVC solvent cement is designed specifically for the purpose, providing a reliable solution for both residential and commercial plumbing projects. It’s is plumber first choice because its dries quickly for immediate use, creates a robust, leak-proof joint, suitable for a variety of CPVC applications, designed for straightforward application with minimal tools.
Prepare the Surfaces
- Use a clean cloth to remove any dust, dirt, or moisture. This is necessary for achieving a strong bond.
- Ensure the ends of the pipes are cut squarely and smoothly for a proper fit.
Apply the Solvent Cement
- Remove the cap carefully.
- Use a applicator (which is inside the bottle)
- Coat both the outside of the pipe and the inside of the fitting with a sufficient amount of cement. Ensure complete coverage without excessive dripping.
Assemble the Joint
- Quickly push the pipe into the fitting, giving it a slight twist to distribute the cement evenly.
- Apply pressure for about 30 seconds to ensure a strong bond forms.
Clean Up
- Use a clean cloth to wipe away excess cement from the joint
- Leave it 8 hours before the joint is fully set for maximum results.
Safety Precautions
- Ensure good airflow to avoid inhaling fumes.
- Always use gloves and goggles to protect yourself from contact with the cement.
- Store the solvent cement in a cool, dry place, ensuring the container is tightly closed when not in use.
Common Mistakes to Avoid
- Failing to clean the surfaces can lead to weak bonds.
- Applying too little or too much can compromise the joint.
- Allow adequate time for the joint to cure before using it.


