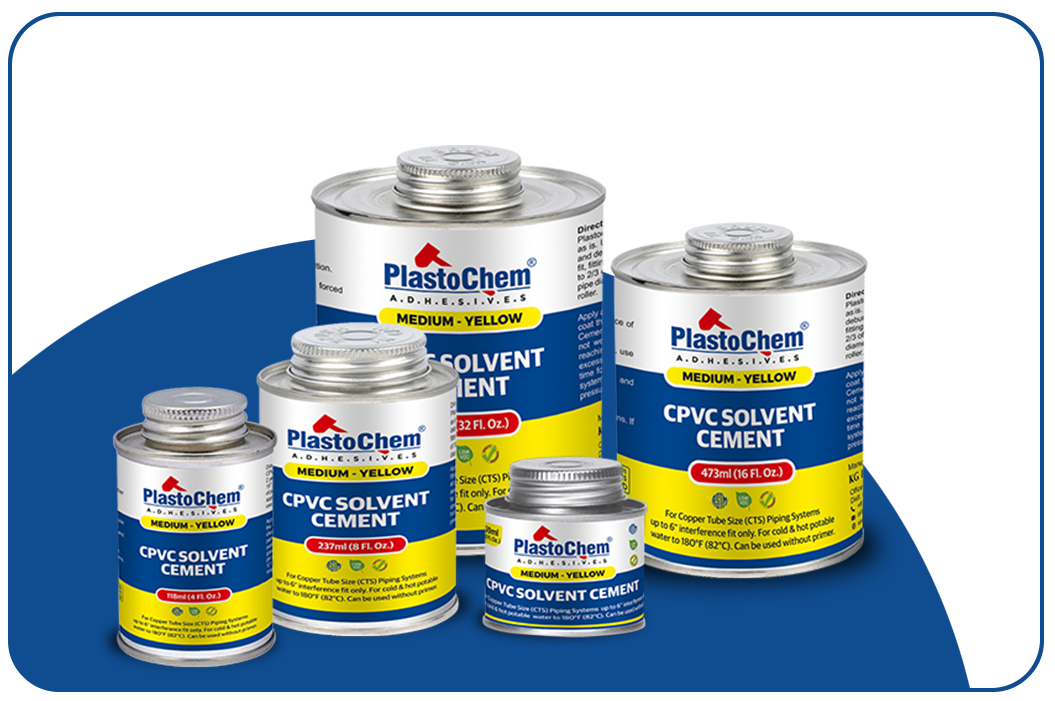
Installing Chlorinated Polyvinyl Chloride (CPVC) pipe using HammerWeld solvent cement is a very simple method for plumbing applications. Below are requirement and process to get your fitting:-
Materials Needed:
- Buy CPVC pipes according to the length of rea
- Count number of joints require to fit CPVC fittings (elbows, tees, couplings, etc.)
- Take CPVC solvent cement as per joint required
- CPVC primer as per requirement
- Measuring tape
- Saw to cut pipe by measuring length (ratchet-style PVC cutter or hacksaw)
- cloth or sandpaper to rub at the end of pipe
- use Clean cloth or rag to remove dust.
Steps cpvc solvent cement Pipe Installation :
- Prepare the Pipe, fitting and Work Area: Check the the work area like pipe, fitting is clean, dry, and well-ventilated.
- Measure the Area and Cut pipe: The most important step is to Measure the area and pipe then mark the CPVC pipe as per required length now cut the pipe to size.
- Prepare the Pipe Surfaces : First clean the end point of pipe sufrace with emery cloth or sandpaper to remove any dirt.
- Primer if necessary: you can use CPVC primer to the abraded surfaces in necessary.
- Apply CPVC Solvent Cement: Apply a small amount of HammerWeld CPVC solvent cement to the outside end of the pipe and the inside of the fitting substance like elbows, tees, couplings, etc.. Ensure that the cement covers the entire surface that will be joined.
- Now Quickly insert the pipe into the fitting and at the end give it a slight twist to spread the cement evenly. now Hold the joint together firmly for a 10 seconds to ensure a proper bond.
- Use a clean cloth or rag to wipe away cement any excess solvent cement around the joint. This helps to create a neat appearance and prevents drips.
So below are the steps for CPVC solvent cement work this steps are done under the professional plumber.


