Know how to use pvc solvent cement for best results.
Using PVC solvent cement correctly is key to creating strong, watertight joints in plumbing or irrigation systems. To achieve a strong and reliable PVC pipe joint using solvent cement. It is necessary to do proper surface preparation, correct application of primer and cement.
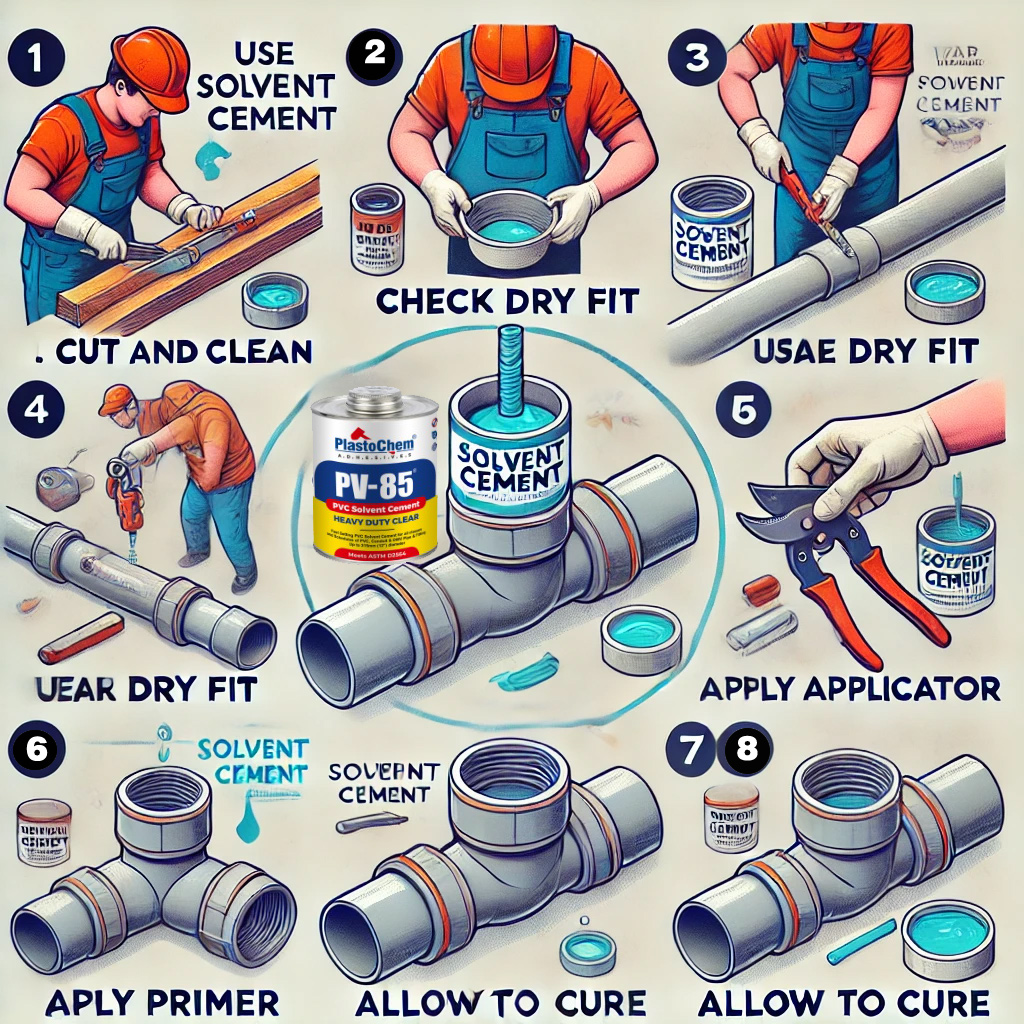
Know Step-by-Step process to Use PVC Solvent Cement.
Prepare the surface
- Clean the pipe and fitting surfaces with a clean cloth or sandpaper to remove any dirt, grease, or debris.
- Ensure the surfaces are dry before applying primer and cement.
- Use a pipe cutter or fine-toothed saw.
- A square cut ensures full surface contact in the joint.
Apply Primer (If Required)
- Apply primer to both the outside of the pipe and inside of the fitting.
- Priming helps soften the PVC, allowing for better fusion with the solvent cement.
- Allow the primer to dry according to the manufacturer’s instructions before proceeding.
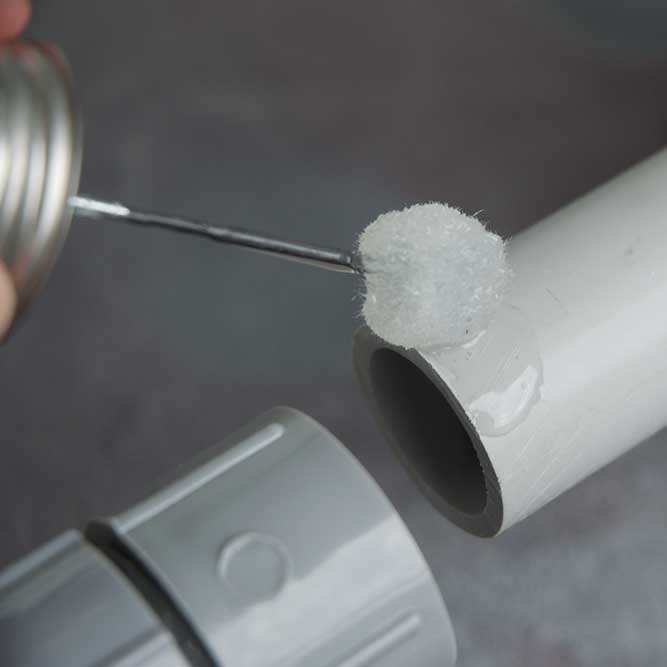
6. Apply the Solvent Cement
- Apply a uniform coat of cement to the pipe end by a brush or applicator (Applicator is inside the container).
- Then apply a thin layer to the inside of the fitting.
- Ensure the entire surface is coated to prevent gaps or weak spots.
7. Assemble Immediately
- While the cement is still wet, push the pipe fully into the fitting.
- Give the pipe a 1/4 turn twist to evenly distribute the cement.
- Hold the joint together for 30 seconds to avoid push-out.
8. Wipe Off Excess Cement
- Use a rag to clean away any excess cement around the joint.
- Be careful not to disturb the joint while it sets.
9. Cure the Joint
- Allow the joint to cure undisturbed for the recommended time (typically an hour or more) before applying pressure or using the pipe.
- Avoid excessive heat or cold during the curing process, as it can affect the bonding strength.
- 15 minutes for light handling.
- 2 hours before light pressure testing.
- 24 hours for full strength and pressure use (longer if cold or for larger pipe sizes).