Know How to use TileOX Tile Adhesive for long lasting results.
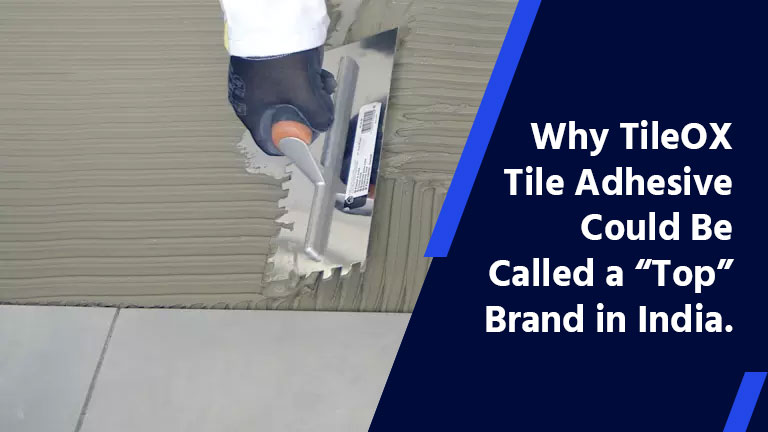
TileOX is the best tile adhesive manufacturer in India. It’s used by multiple house holders, builders, construction company, offices, hospitals, industries etc. TileOX has 5 different products for tile adhesive which is used for different types of tiles, stones, atmosphere, locations etc.
- Plan the Layout and Levelness of Wall: To achieve a balanced and visually pleasing outcome, it is important to carefully plan the arrangement of your tiles. Once the plan is finalized, checking the levelness of the surface is a very important step before you begin tiling. To check for levelness, begin by using a long carpenter’s level to measure different points on the surface. Depending on the size of your project, use a small or large level for accuracy.
- Prepare the Surface: Remove any dirt, grease, dust, or old adhesive from the planned area. Use a mild cleaner and a damp cloth to wipe it down. Make sure the surface is completely dry before applying the adhesive. Also check for any cracks, holes, or uneven areas. If necessary, patch up these spots using filler or patching compound and allow it to dry completely before proceeding. Some surfaces, like cement board or drywall, may require a primer to help the adhesive bond better. Be sure to follow the adhesive manufacturer’s instructions.
- Mix the Tile Adhesive: Measure the appropriate amount of adhesive powder and water as indicated on the packaging. Adding too much water or not enough can affect the strength of the bond. Use a mixing tray or bucket and a drill with a mixing attachment, or mix by hand if it’s a small batch. Aim for a smooth, thick consistency, similar to peanut butter. Let the mixture sit for about 10 minutes to allow it to “slake” (a process where the adhesive fully absorbs water), then mix it again before use.
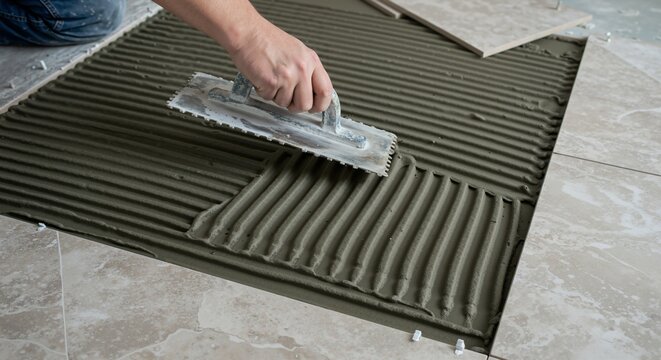
- Apply the Tile Adhesive: Apply a generous amount of tile adhesive to a small area of the surface using a notched trowel. Hold the trowel at a 45-degree angle to the surface and spread the adhesive in a thin, even layer. The notched side of the trowel will create grooves in the adhesive, which helps the tiles grip the surface better.
- Lay the Tiles: Start at one corner and press the tiles into the adhesive. For best results, twist each tile slightly as you press it to ensure a strong bond. Place spacers between the tiles to create even gaps for grout. The size of the spacer depends on the type of tiles you’re using and the desired grout joint width.
- Allow the Adhesive to Set: Allow the adhesive to set according to the manufacturer’s instructions—usually 24 hours. Do not walk on the tiles or apply grout until the adhesive has fully cured. We advise you that giving it sufficient ventilation will help with faster drying times for the tile adhesive.
- Grout the Tiles: Always start grouting after a 24-hour completed. Use a rubber grout float to spread the grout into the gaps between the tiles. Press it in firmly to ensure a good fill. Wipe away excess grout using a damp sponge, making sure to smooth the grout lines. Allow the grout to dry before wiping the tiles with a clean cloth.


thanks for such a solution to install solvent cement.